
An elastic bandage, often recognized by its stretchy fabric and familiar clips, is a versatile tool for providing support, compression, and stability to injured or strained body parts. Whether you’re dealing with a sprained ankle, a strained wrist, or simply need to reduce swelling, knowing how to properly apply an elastic bandage is crucial for effective recovery and preventing further injury. This guide will walk you through the essential steps and considerations for wrapping an elastic bandage correctly.
Content
Before you begin wrapping, it’s helpful to understand why you’re using an elastic bandage. Its primary functions are:
While specific wrapping techniques vary by body part, several universal principles apply:
Let’s use a common scenario – wrapping an ankle – as an example to illustrate the technique.
Positioning: Have the person (or yourself) sit comfortably with the injured limb supported. For an ankle, the foot should be at a 90-degree angle to the leg.
Starting Point: Hold the roll of the elastic bandage in one hand, with the loose end ready to be applied. Start wrapping about 1-2 inches above the base of the toes, making two or three circular turns around the foot.
Figure-Eight Pattern:
Ascending the Limb: Continue the figure-eight wraps, gradually moving up the calf, ensuring each new layer overlaps the previous one by about half. Maintain even tension throughout.
Finishing: Stop wrapping about 2-3 inches above the injured area. For an ankle sprain, this might be mid-calf. Ensure the elastic bandage covers the entire injured area and extends sufficiently above and below it for proper support.
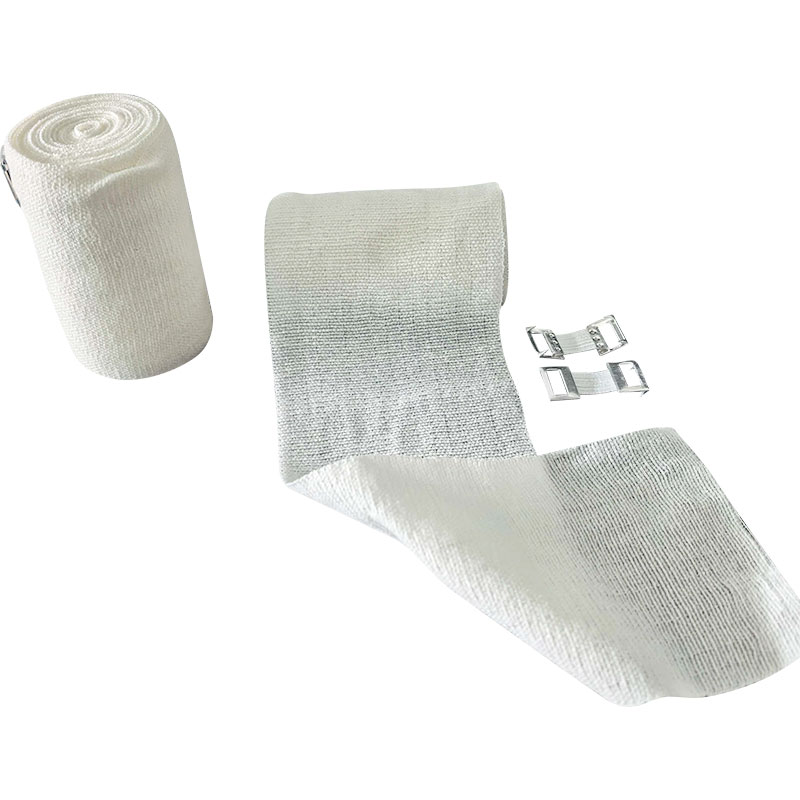
Securing the Bandage: Use the metal clips provided with your elastic bandage to secure the end. If clips are unavailable or uncomfortable, medical tape can also be used. Avoid securing the bandage too tightly with the clips, as they can create pressure points.
Final Check: Re-check circulation immediately after securing the elastic bandage and periodically thereafter. Remember the signs of a too-tight bandage: numbness, tingling, increased pain, or color changes.
While an elastic bandage is excellent for initial injury management and support, it’s not a substitute for professional medical advice. Consult a doctor or physical therapist if:
Properly applied, an elastic bandage can significantly aid in recovery and provide comfort. By following these guidelines, you can ensure you’re using this essential first-aid item effectively and safely.


 NO.89 Duanshu Road, Xinggong Road, Pinghu City, Zhejiang Province, China
 [email protected]
 +86-(0)573-8507 6991
Copyright © hero-medical.com. All Rights Reserved
 Wholesale Sport Tape Manufacturers
China Sport Tape Suppliers
Wholesale Sport Tape Manufacturers
China Sport Tape Suppliers
The information provided on this website is intended for use only in countries and jurisdictions outside of the People's Republic of China.
 English
 Espana
 Français
 Deutsch