
Content
An elastic bandage — sometimes called a compression bandage, elastic wrap, or by the widely recognized brand name ACE bandage — is a stretchable woven or knitted fabric strip designed to be wrapped around a body part to provide controlled compression, support, and mild immobilization. Unlike a rigid splint or cast, an elastic bandage works by applying graduated pressure that helps limit swelling, stabilize injured joints, and support soft tissue structures like muscles, tendons, and ligaments during recovery from injury or during athletic activity.
The key word in that description is "controlled." An elastic bandage applied too loosely provides no meaningful compression and may slip out of place entirely. Applied too tightly, it can restrict blood flow, cause numbness and tingling, increase pain, and in serious cases lead to tissue damage or compartment syndrome. Getting the tension right — and understanding what you are trying to achieve with the wrap — is the foundation of using an elastic compression bandage effectively.
Applying an elastic bandage correctly starts before you unroll a single inch of fabric. Taking a few moments to prepare properly makes the difference between a wrap that stays in place and does its job and one that bunches, slides, or cuts off circulation.
Ankle sprains are one of the most common reasons people reach for an elastic wrap bandage, so the ankle makes a practical example for learning the fundamental wrapping technique. The same principles apply to other joints — the specific pattern changes, but the approach does not.
Start by anchoring the bandage. Hold the free end of the rolled elastic bandage against the ball of the foot (just behind the toes) and make two straight anchor wraps around the foot at this level, overlapping each pass by about half the bandage width. Keep the tension firm but not tight at this stage — you are establishing the base of the wrap. From the anchor wraps, angle the bandage diagonally up across the top of the foot toward the inner ankle, take it around the back of the ankle below the ankle bone, bring it forward under the outer ankle bone, and angle it back up across the top of the foot. This diagonal crossing pattern forms the first half of the figure-eight.
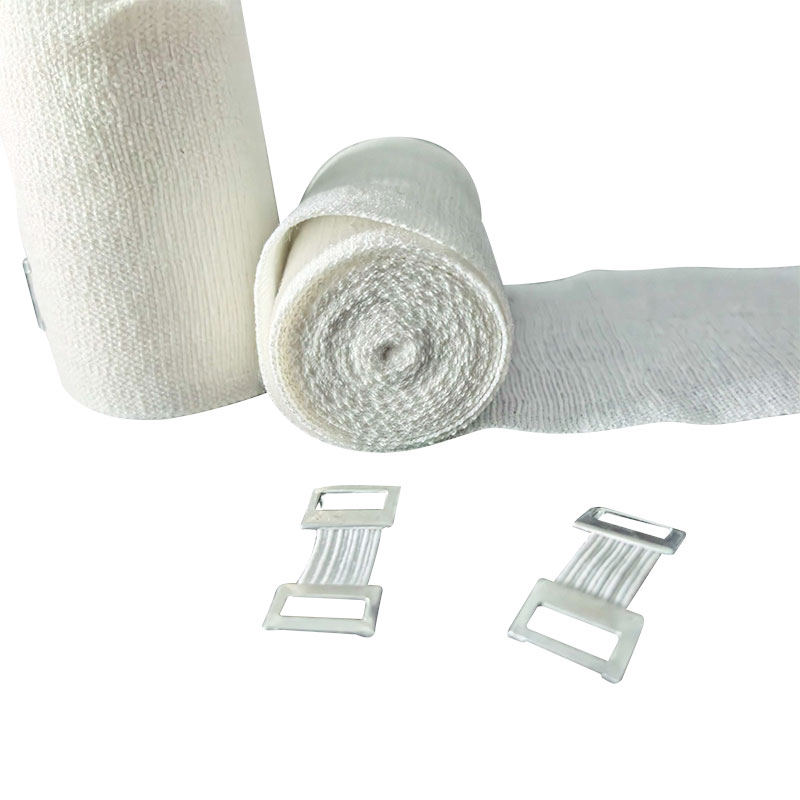
Continue the figure-eight pattern by spiraling up the lower leg, overlapping each pass by at least 50% and maintaining consistent tension throughout. Each successive turn should be slightly higher on the leg, ultimately ending a few inches above the ankle joint. Avoid gaps between layers and avoid folding or creasing the bandage, as both create pressure points. Finish by securing the end with the provided clips or medical tape. The completed wrap should feel snug and supportive but should not cause any throbbing, tingling, or color change in the foot or toes.
For knee compression, position the knee in a slightly bent position (about 20–30 degrees of flexion) — wrapping a completely straight knee creates a bandage that restricts bending too severely when the person tries to walk. Begin with two anchor wraps just below the kneecap, then use a spiral pattern working upward, overlapping by half the bandage width with each pass. For additional stability, you can use a modified figure-eight by crossing the bandage behind the knee joint rather than spiraling straight around it, which better accommodates the knee's natural flexion crease. Finish 3–4 inches above the kneecap and secure. Check that you can fit two fingers beneath the wrap — if you cannot, it is too tight; if the wrap shifts when the knee bends, it is too loose.
Wrist wrapping requires a narrower bandage (2–3 inches) and careful attention to leaving the thumb free to function normally unless you specifically need to immobilize the thumb joint. Anchor at the palm, just below the knuckles, with two circular passes. Bring the bandage diagonally across the back of the hand to the wrist, circle the wrist, and return diagonally across the back of the hand — forming a figure-eight around the wrist and palm. Repeat this pattern two to three times and finish by spiraling up the forearm for 2–3 inches above the wrist joint. The wrap should support the wrist without restricting finger movement or cutting into the web space between the thumb and index finger.
One of the most critical skills when using an elastic compression bandage is accurately assessing whether the wrap is compromising circulation. This is especially important when wrapping a limb for overnight use or when the patient is a child or elderly person who may not be able to clearly communicate discomfort. Perform a circulation check immediately after applying the wrap and again 15–20 minutes later.
Check all of the following signs after wrapping:
Even people who have wrapped injuries many times before make predictable errors that reduce the effectiveness of the bandage or actively cause harm. Here are the most common mistakes and how to avoid them:
Many people instinctively wrap most firmly near the end of the bandage, where they are securing the wrap. This creates a reverse compression gradient — tighter at the top, looser at the base — which is the opposite of what a therapeutic compression bandage should do. Correct compression should be firmest at the distal end (furthest from the heart) and gradually decrease as the wrap moves proximally. This graduated compression assists venous return, moving fluid out of the injured area toward the body's core. An incorrect gradient traps fluid below the tight upper wrap and can worsen swelling.
Elastic wrap bandages are not set-and-forget. As swelling changes — either increasing in the first 24–48 hours after an acute injury, or decreasing as treatment progresses — the appropriate tension of the bandage changes too. A bandage that was correctly fitted in the morning may be dangerously tight by evening if swelling has increased, or may have become loose and ineffective if swelling has reduced. As a general rule, check and reassess any compression elastic bandage at least every 4 hours during waking hours. Remove and reapply if the fit has changed significantly, and always remove the bandage before sleep unless specifically instructed otherwise by a healthcare provider.
Elastic bandage compression is significantly more effective when the wrapped limb is elevated above heart level. Gravity assists venous and lymphatic drainage from the injured area, amplifying the effect of the compression and accelerating reduction of swelling. Many people wrap an injured ankle and then immediately walk around on it, which counteracts both the compression benefit and produces further swelling with each step. During the acute phase of an injury — the first 48–72 hours — wrap compression should ideally be combined with elevation whenever the person is resting.
Elastic bandages lose their elasticity over time with repeated use and washing. A bandage that has been used many times and is no longer able to spring back to its original length provides little meaningful compression — it drapes around the limb without generating useful pressure. Most quality elastic wrap bandages can be washed and reused many times if cared for properly (hand-washed in cool water and air-dried, never machine-dried), but they have a finite service life. If a bandage no longer returns to its original width when stretched or if it sags and loosens immediately after application, replace it.
An elastic compression bandage is a valuable first aid and rehabilitation tool, but it is not a substitute for medical evaluation of a significant injury. Applying a stretchy bandage and hoping for the best is appropriate for a mild ankle roll or a minor muscle strain, but there are clear situations where an elastic wrap is insufficient and delaying proper medical care can lead to worse outcomes.
Seek medical attention rather than relying solely on a compression bandage if you experience any of the following:


 NO.89 Duanshu Road, Xinggong Road, Pinghu City, Zhejiang Province, China
 [email protected]
 +86-(0)573-8507 6991
Copyright © hero-medical.com. All Rights Reserved
 Wholesale Sport Tape Manufacturers
China Sport Tape Suppliers
Wholesale Sport Tape Manufacturers
China Sport Tape Suppliers
The information provided on this website is intended for use only in countries and jurisdictions outside of the People's Republic of China.
 English
 Espana
 Français
 Deutsch